Charcuterie Board: An Amazing Ultimate Guide to 7 Ingredients
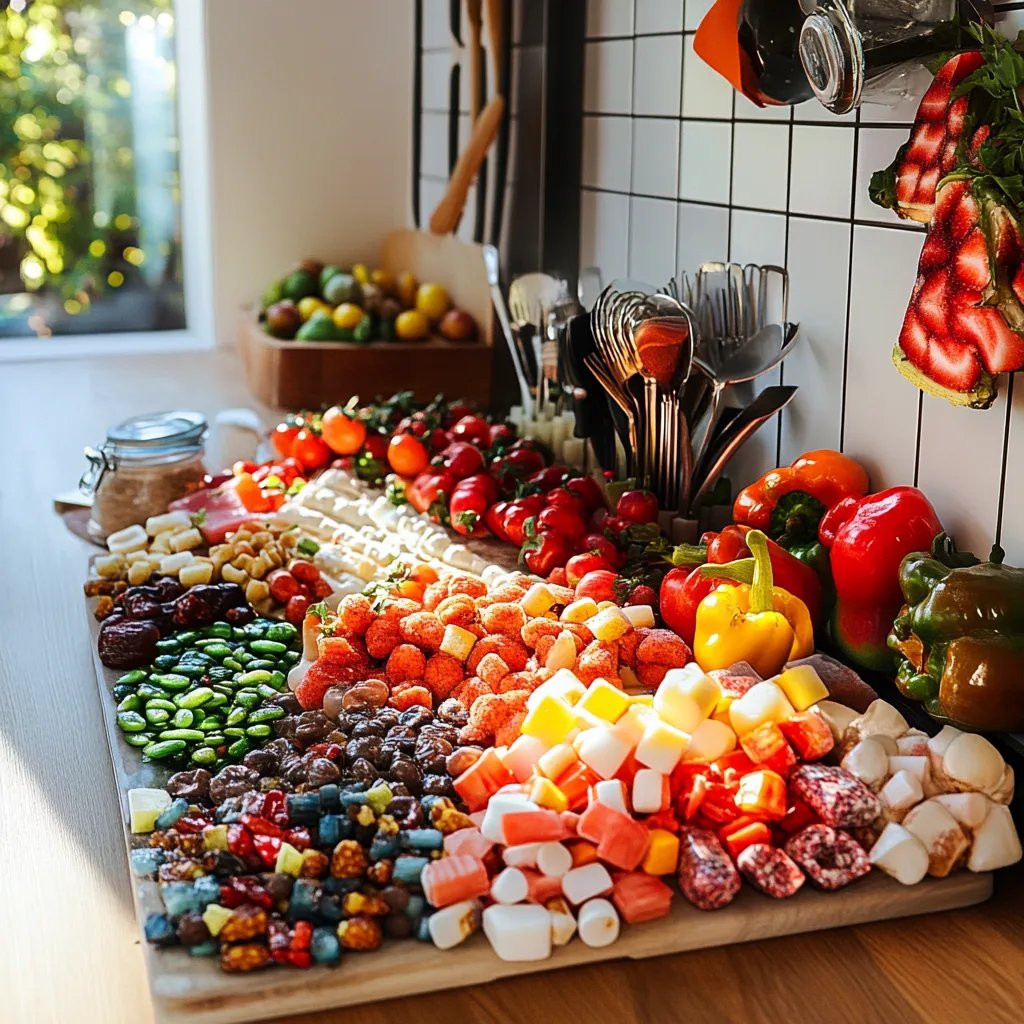
Charcuterie Board is not just a meal; it’s an experience that brings friends and family together. These boards are visually stunning arrangements of meats, cheeses, fruits, and other delightful nibbles. They create a focal point at gatherings, encouraging conversation and sharing. The charm of a well-crafted charcuterie board lies in its variety and endless customization options. From casual get-togethers to elegant soirées, a charcuterie board can adapt to any occasion, making it an essential addition to your hosting repertoire.
Imagine walking into a room filled with laughter and the irresistible aroma of delectable snacks. A beautifully arranged charcuterie board can instantly uplift the atmosphere and serves as an inviting centerpiece. This guide will take you through the amazing world of charcuterie boards, showcasing why they are so beloved, how to prepare them with ease, and tips for serving them to impress your guests. Let’s embark on this culinary journey!
Why You’ll Love This Recipe
A charcuterie board offers a unique way of enjoying a variety of flavors all in one place. Here are some reasons why you’ll absolutely love creating and sharing a charcuterie board:
1. Endless Variety – With endless combinations of ingredients, each board can be unique to your taste.
2. Visually Appealing – A well-organized charcuterie board is a feast for the eyes, enhancing any gathering.
3. Customizable – You can tailor the board for dietary restrictions, preferences, or themes.
4. Perfect for Sharing – Encourages communal dining, making it ideal for social settings.
5. No Cooking Required – Most ingredients require minimal preparation, making it super easy.
6. Interactive Experience – Guests can mix and match their favorite bites, creating their ideal combination.
With these factors in mind, it’s easy to see why charcuterie boards have gained immense popularity. They are a delightful way to explore flavors, making for memorable culinary experiences.
Preparation and Cooking Time
Creating a charcuterie board is quick and straightforward, allowing you to spend more time enjoying your gathering. Here’s a time breakdown:
– Preparation Time: 20-30 minutes
– Arranging Time: 10-15 minutes
Depending on your familiarity with the ingredients and their arrangement, the overall time can vary, but it remains a quick and delightful endeavor.
Ingredients
– 3 types of cheeses (e.g., Brie, Sharp Cheddar, Goat Cheese)
– 2 types of cured meats (e.g., Salami, Prosciutto)
– 1 cup of fresh fruit (e.g., Grapes, Strawberries)
– 1 cup of nuts (e.g., Walnuts, Almonds)
– 1 jar of gourmet olives or pickles
– 1 artisan bread or crackers
– 1 spread (e.g., Honey, Fig Jam, or Mustard)
Step-by-Step Instructions
Creating an impressive charcuterie board is simple. Follow these steps to assemble your masterpiece:
1. Select Your Board: Choose a large wooden cutting board, slate, or a platter; the surface should be big enough to hold all ingredients.
2. Prepare the Cheeses: Cut harder cheeses into cubes or slices. Leave softer cheeses like Brie whole, but provide a small knife for easy serving.
3. Arrange the Meats: Roll or fold the cured meats and place them in clusters around the cheeses.
4. Add Fresh Fruits: Scatter fresh fruits in the gaps around the meats and cheeses, adding color and freshness.
5. Incorporate Nuts: Fill in spaces with a variety of nuts, adding a crunchy texture.
6. Place Pickles and Olives: Use small bowls for olives and pickles, placing them prominently on the board.
7. Include Spreads and Condiments: Add a small bowl of honey or jam, positioning it for easy access.
8. Finish with Bread and Crackers: Arrange slices of bread and crackers around the board, ensuring guests can easily grab them.
As you assemble, consider color balance, textures, and variety to create an appealing visual display.
How to Serve
When serving your charcuterie board, consider the following tips to make a lasting impression:
1. Presentation: Elevate the board on a stand or table to make it easily accessible. Keep it at a height where guests can comfortably serve themselves.
2. Cutlery and Tools: Provide small forks, toothpicks, or serving knives for a seamless dining experience.
3. Accompaniments: Pair the board with drinks such as wine, cocktails, or infused water that complement the flavors.
4. Decorations: You may add fresh herbs like rosemary or sprigs of greenery for additional color and aroma.
5. Use Labels: Consider labeling the cheeses and meats with small tags for guests to know what they’re indulging in.
By paying attention to these details, you’ll not only impress your guests with the food but also enhance the overall atmosphere of your gathering.
Additional Tips
– Use Quality Ingredients: Choose the freshest fruits, high-quality cheeses, and artisanal meats for the best flavor.
– Think About Texture: Balance creamy cheeses with hard cheeses, and include a mix of crunchy nuts and soft fruits for an enjoyable experience.
– Seasonal Selections: Adapt your charcuterie board to reflect seasonal ingredients. Fresh fruits like berries in summer or figs in autumn can enhance flavors.
Recipe Variation
Feel free to explore unique combinations on your charcuterie board! Here are some tasty variations:
1. Themed Boards: Create a charcuterie board centered around a specific theme, such as Italian with prosciutto, mozzarella, and balsamic glaze or a Mediterranean twist with hummus, feta, and pita chips.
2. Vegetarian Option: Substitute meats with marinated artichokes, roasted vegetables, or an array of plant-based spreads to appeal to vegetarian guests.
3. Sweet Charcuterie: Add sweets like chocolate-covered pretzels, dried fruits, and pastries for a dessert-themed charcuterie board for celebrations.
Freezing and Storage
– Storage: While a charcuterie board is best enjoyed fresh, leftovers can be kept in an airtight container in the refrigerator for 1-2 days.
– Freezing: For particular items, like bread or some spreads, freezing can help maintain freshness. Wrap bread tightly and store in a freezer-safe bag for up to three months.
Special Equipment
To create your charcuterie board with ease, consider using the following tools:
– Cutting Board or Platter: A large surface is essential for arrangement.
– Cheese Knives: Have a variety of knives for different types of cheese.
– Small Bowls: Use for dips, spreads, and olives to keep them organized and neat.
– Toothpicks or Small Forks: Provide for easy serving and to keep hands clean.
Frequently Asked Questions
What if I have dietary restrictions to consider?
You can tailor your charcuterie board to dietary needs by including gluten-free crackers or plant-based cheese and meats for vegans.
How long before serving should I prepare my charcuterie board?
Preparing it just an hour before serving is ideal; however, you can start gathering and cutting ingredients a few hours prior to keep things fresh.
Can I include warm ingredients?
While charcuterie boards are typically served cold, you can include warm elements such as baked brie or warm dips. Just ensure they don’t sit out for too long.
How should I transport a charcuterie board?
If you’re taking it to an event, assemble the items in separate containers and arrange them right before serving for the best presentation.
What drinks pair well with a charcuterie board?
Wine or craft beer pairs beautifully; however, you can also offer sparkling water, herbal teas, or fresh juices for a non-alcoholic option.
Conclusion
Creating a charcuterie board is an art that enhances any gathering, providing a feast for the eyes and palate alike. With endless possibilities for customization, you can cater to various tastes and preferences while encouraging delightful conversation. Whether you’re hosting a casual meetup or an elegant celebration, a well-planned charcuterie board will surely impress your guests. Start experimenting with different ingredients and arrangements, and enjoy the incredible experience a charcuterie board brings!