Mini Cheeseboards: An Incredible Ultimate Guide to 5 Amazing Varieties
Mini cheeseboards are a fantastic way to elevate any gathering, offering a delightful assortment of flavors and textures that cater to everyone’s palate. These charming platters not only look stunning but also allow your guests to mix and match their favorite cheeses, meats, and accompaniments. Whether you’re planning a cozy night in, hosting an elegant dinner party, or preparing for a festive celebration, mastering the art of mini cheeseboards can transform your dining experience.
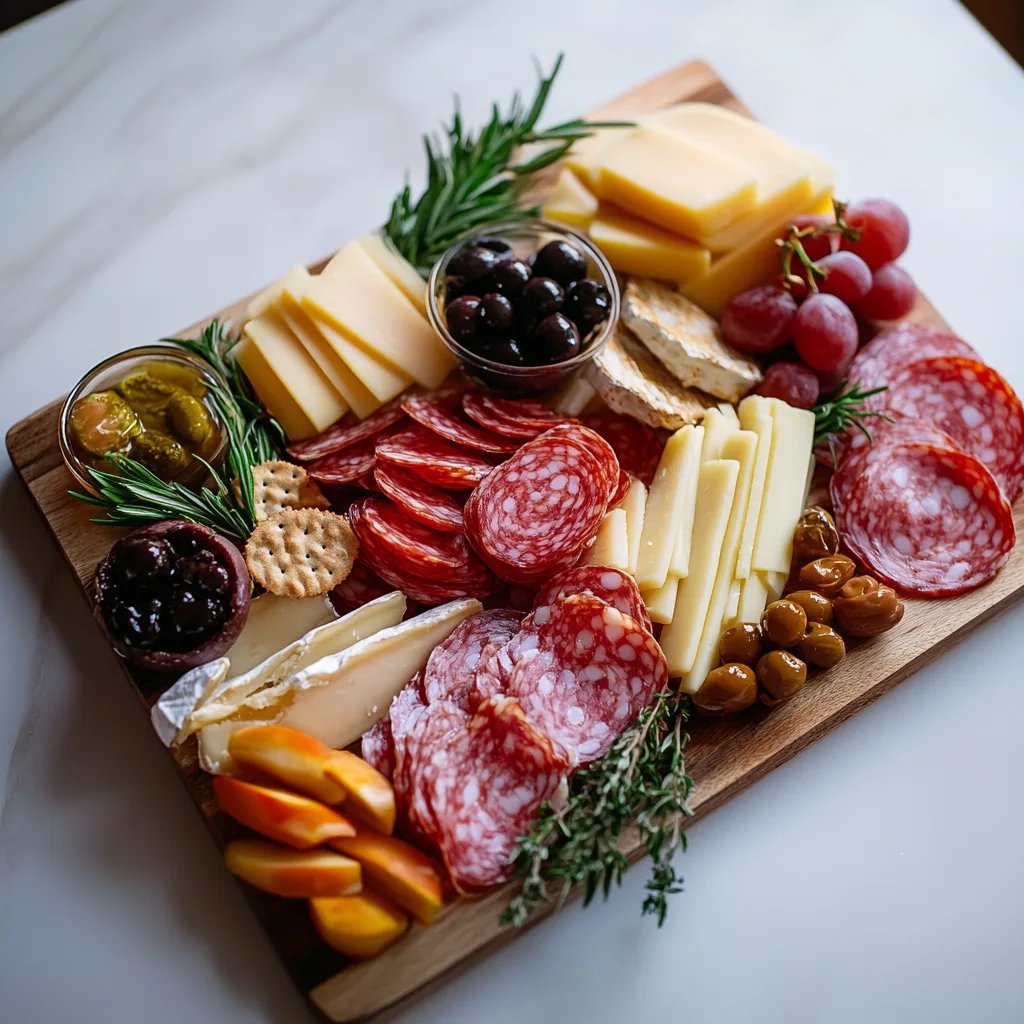
Imagine a beautifully curated spread featuring artisanal cheeses, fresh fruits, crunchy nuts, and gourmet crackers. It’s more than just food; it’s an experience that invites conversation and enjoyment. The best part? Mini cheeseboards are highly customizable, allowing you to adapt them seasonally, based on dietary preferences, or simply according to what you have on hand. In this guide, we will explore why you’ll love making mini cheeseboards, the preparation timeline, essential ingredients, step-by-step assembling instructions, and tips on serving them to impress.
Diving into the craft of creating mini cheeseboards can feel a bit overwhelming, but fear not! With simple instructions and a little creativity, you can assemble an impressive array that will leave your guests raving about the incredible offerings. Let’s unlock the secrets of making five amazing varieties of mini cheeseboards that will suit any occasion.
Why You’ll Love This Recipe
Mini cheeseboards are more than just easy to assemble; they represent the perfect balance of flavor and sophistication. The versatility of cheeseboards allows you to tailor them to suit your specific needs. Here are several reasons you’ll be glad you embraced mini cheeseboards:
1. Visual Appeal: They are artfully arranged, making for an incredible presentation that can brighten up any table.
2. Culinary Adventure: Each bite offers a new taste combination, inviting your guests on a mini culinary journey.
3. Customizable Options: Cater to diverse dietary preferences, with options for vegetarian, vegan, and gluten-free.
4. Easy to Prepare: Putting together a mini cheeseboard requires minimal cooking or culinary skill.
5. Perfect for Any Event: Ideal for casual gatherings, formal events, or holiday celebrations.
6. Social Interaction: Serving a cheese platter encourages mingling, as guests can build their own little creations.
These points highlight not only the ease with which mini cheeseboards can be prepared but also their incredible potential for bringing people together. With a little planning and creativity, you’ll be able to impress your guests and create memorable moments around food.
Preparation and Cooking Time
Creating the perfect mini cheeseboards involves a little bit of preparation but requires no complicated cooking techniques. Here’s a breakdown of the time you might spend assembling your boards:
– Preparation Time: 30-45 minutes (dependent on the variety and complexity of the board)
– Assembly Time: 15-20 minutes (placing items on the board for visual appeal)
This means that in just over an hour, you could have a visually stunning spread ready for your guests to enjoy.
Ingredients
To create several types of mini cheeseboards, gather the following ingredients. You can mix and match based on your preferences and seasonal availability:
Cheeses:
– Aged cheddar
– Brie
– Goat cheese
– Blue cheese
– Havarti
Meats:
– Prosciutto
– Salami
– Chorizo
– Smoked turkey
Fruits:
– Grapes
– Fig slices
– Dried apricots
– Berries
Accompaniments:
– Mixed nuts (almonds, walnuts)
– Honey or fig jam
– Crackers (water crackers, artisan baguette slices)
– Fresh herbs (rosemary, thyme)
Extras:
– Olives
– Pickles
– A drizzle of balsamic glaze
This assortment will allow you to create diverse and mouthwatering mini cheeseboards that are perfect for any gathering.
Step-by-Step Instructions
Assembling a mini cheeseboard is straightforward and enjoyable. Follow these steps to create beautiful, appetizing platters:
1. Choose Your Base: Select a wooden board, slate, or a large platter as your base for arranging the elements.
2. Position the Cheeses: Place your cheese selections on the board first. Space them evenly, ensuring a variety of textures and flavors.
3. Add the Meats: Arrange your selected meats around the cheeses. You can fold them or create fun shapes for visual interest.
4. Incorporate Fruits: Add clusters of grapes, berries, or fig slices around the meats and cheeses, offering fresh contrast.
5. Sprinkle Nuts: Disperse mixed nuts around the board for added crunch and nutrition.
6. Fill in the Gaps: Use your crackers or baguette slices to fill in any gaps on the board, creating a complete look.
7. Include Condiments: Place small bowls of honey, fig jam, olives, or pickles strategically around the board.
8. Garnish: Add fresh herbs like rosemary or thyme for a touch of color and aroma.
9. Final Touch: Drizzle balsamic glaze over some components for an appealing sheen.
10. Serve: Provide small cheese knives and serving utensils for ease of access.
Feel free to get creative! The combination of colors, shapes, and textures makes each mini cheeseboard unique and inviting.
How to Serve
Serving your mini cheeseboards can enhance the experience for your guests. Here are some tips to consider:
1. Stylish Presentation: Elevate your mini cheeseboard by placing it on a cake stand or using elevated plates.
2. Pairing Suggestions: For an interactive experience, suggest wine pairings, such as a robust red for aged cheeses or a light white for creamy varieties.
3. Shareable Portions: Ensure each guest has ample space to assemble their own selections without feeling crowded.
4. Utensils at Hand: Offer tongs for meats, small forks for fruits, and cheese knives for easy serving.
5. Keep It Fresh: If your event duration is long, consider keeping the cheeses cool with ice packs under the board for food safety.
6. Theme It Up: Customize your board according to seasonal or thematic ideas, such as a holiday, a picnic, or a wine-tasting night.
With these ideas, your mini cheeseboards are sure to impress, allowing everyone to enjoy a delightful blend of flavors and textures.
Embrace the art of creating and serving mini cheeseboards, and enjoy the wonderful experience of gathering people around delicious food!
Additional Tips
– Use Seasonal Ingredients: Take advantage of seasonal fruits and nuts to enhance the flavors of your mini cheeseboards.
– Experiment with Textures: Incorporate a variety of textures, such as creamy cheeses, crunchy nuts, and chewy dried fruits, for a delightful eating experience.
– Label Your Selections: For larger gatherings, consider labeling the items on your cheeseboard. This can help guests identify their favorites and accommodate dietary restrictions.
Recipe Variation
Get creative with your mini cheeseboards! Here are a few variations to inspire you:
1. Mediterranean Theme: Use cheeses like feta and halloumi, along with cured olives, sun-dried tomatoes, and pita chips.
2. Sweet and Savory: Incorporate more fruits, such as honey-drizzled figs and apple slices, and consider using cheese spreads alongside crackers.
3. Holiday Festivities: Customize your cheeseboard with seasonal flavors like cranberry chutney, spiced nuts, and festive-shaped cheeses.
Freezing and Storage
– Storage: Keep any leftover components in airtight containers in the refrigerator for up to three days.
– Freezing: While it’s not recommended to freeze assembled cheeseboards, you can freeze certain cheese varieties and meats. Ensure they are well-wrapped to maintain freshness.
Special Equipment
To make crafting your mini cheeseboards easier, consider having the following tools on hand:
– Cheese knife set: These are perfect for cutting various cheeses cleanly.
– Small bowls: For dips or spreads.
– Platter or board: Choose a size that matches your gathering.
– Tongs and serving utensils: Help guests serve themselves easily.
Frequently Asked Questions
What types of cheese should I include?
Choose a mix of soft, semi-soft, and hard cheeses for a balanced cheeseboard. Popular inclusions are brie, cheddar, and goat cheese.
How do I keep the mini cheeseboards fresh?
Cover the cheeseboards with plastic wrap and store them in the refrigerator if not being served immediately.
Can mini cheeseboards accommodate dietary restrictions?
Absolutely! With careful selection of ingredients, you can easily create vegetarian, vegan, or gluten-free options.
How many people will a mini cheeseboard serve?
Typically, one mini cheeseboard can serve 4 to 6 guests, depending on the number of ingredients you include.
Is it okay to prepare the cheeseboard ahead of time?
You can prepare certain components ahead of time but usually assemble the cheeseboard closer to serving to maintain freshness.
Conclusion
Mini cheeseboards are not just a culinary delight; they are a creative way to bring elegance and flavor to any gathering. The flexibility of ingredients allows you to curate a cheeseboard that reflects your taste, the season, and your guests’ preferences. As you experiment with various combinations and styles, you will soon find that the art of mini cheeseboards is a rewarding journey filled with delicious possibilities. Embrace the joy of creating these beautiful platters, and enjoy the delightful conversations they inspire at your next event!