Red Velvet Cheesecake Heart Recipe
Highlighted under: Sweet Treat Creations
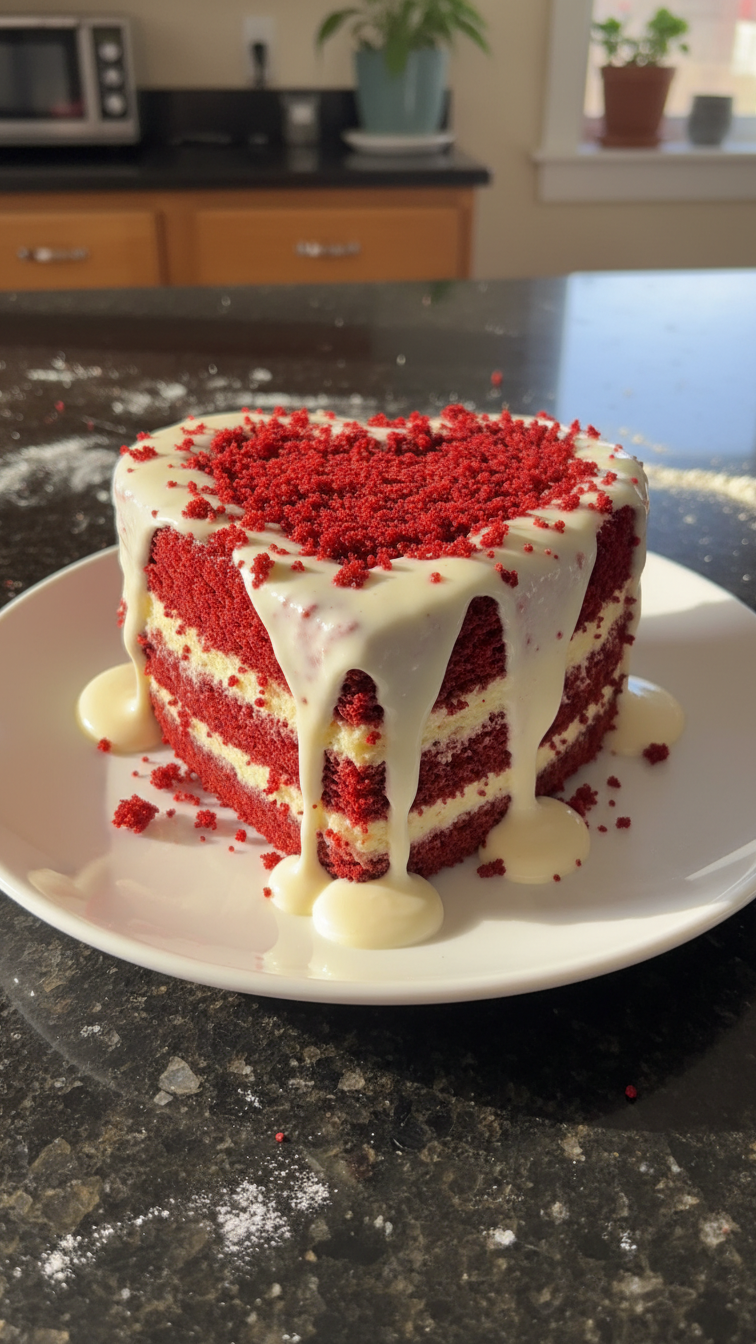
I absolutely love making this Red Velvet Cheesecake Heart for special occasions. The rich taste of chocolate and cream cheese combined with the vibrant red color makes this dessert a showstopper. Each bite is a luscious experience, and it’s surprisingly easy to make, which is perfect for novice bakers. I often prepare it for Valentine’s Day or anniversaries, and it never fails to impress! Let me guide you through how to create this delightful dessert that’s both romantic and delicious.
When I first baked this Red Velvet Cheesecake Heart, I was captivated by the vibrant color and the incredible flavor combination. The technique of swirling the cream cheese layer into the red velvet batter creates a stunning aesthetic that instantly elevates any gathering. To ensure the perfect texture, I recommend using room-temperature ingredients, which makes the batter much easier to mix and results in a smoother cheesecake.
One of my favorite moments is watching the faces of my guests light up when they see the heart shape and taste the first bite. It’s rich yet balanced, and using high-quality cocoa powder truly enhances the chocolatey flavor. Don’t skip the chilling step; it allows the flavors to meld beautifully, making each slice even more enjoyable!
Why You'll Love This Recipe
- Rich chocolate flavor paired with creamy cheesecake for blissful indulgence
- Beautiful heart shape that makes it perfect for celebrations
- Moist and tender cake that rivals any bakery's treat
Understanding Red Velvet Batter
The red velvet batter is unique not just for its striking color but also for its flavor profile. The acidity from buttermilk and white vinegar is essential; it reacts with the baking soda to create a tender crumb while adding depth to the cake's flavor. When mixing the food coloring into your wet ingredients, ensure that it’s thoroughly blended to achieve an even color throughout, preventing any streaks in the final cake.
Another key tip is to avoid overmixing the batter once the dry ingredients are combined with the wet. A few lumps are perfectly fine; overmixing can lead to a dense cake rather than the light, airy texture we desire. Furthermore, if you prefer a milder cocoa flavor, you can slightly reduce the cocoa powder without compromising the overall texture.
Creating the Cream Cheese Layer
The cream cheese layer adds a rich, tangy flavor that perfectly balances the sweetness of the red velvet cake. Make sure your cream cheese is softened to room temperature before mixing; this ensures a smooth filling without any lumps. If you're short on time, you can microwave the cream cheese in 10-second intervals, checking to ensure it doesn’t melt.
If you want to experiment with flavors, consider adding a teaspoon of lemon juice or zest to the cream cheese mixture for an extra zing. Additionally, using a hand mixer rather than a stand mixer allows for better control, reducing the risk of overmixing and ensuring your filling remains light and airy.
Baking and Serving Tips
Baking time is crucial for achieving the right texture. Start checking your cake for doneness around the 55-minute mark; a toothpick inserted into the center should come out clean or with just a few moist crumbs. If the edges of the cake begin to darker significantly before the center is done, you can tent it with foil to prevent burning while it finishes baking.
After cooling, consider serving the cheesecake heart with a drizzle of chocolate ganache or raspberry sauce to enhance both the flavor and presentation. This not only adds a contrasting taste but also elevates the visual appeal, making your dessert even more stunning. For a fun twist, you could even sprinkle some crushed nuts or mini chocolate chips on top of the cream cheese layer before baking to introduce texture.
Ingredients
Gather these ingredients for an unforgettable dessert experience.
For the Red Velvet Cake Layer
- 2 cups all-purpose flour
- 1 ½ cups granulated sugar
- 1 tsp baking soda
- 1 tsp salt
- 1 tsp cocoa powder
- 1 ½ cups vegetable oil
- 1 cup buttermilk
- 2 large eggs
- 2 tbsp red food coloring
- 1 tsp vanilla extract
- 1 tsp white vinegar
For the Cream Cheese Layer
- 16 oz cream cheese, softened
- ¾ cup granulated sugar
- 1 tsp vanilla extract
- 2 large eggs
Ensure all ingredients are at room temperature for the best result.
Instructions
Follow these steps to create your delightful Red Velvet Cheesecake Heart.
Prepare the Cake Batter
Preheat your oven to 350°F (175°C). In a bowl, whisk together flour, sugar, baking soda, salt, and cocoa powder. In another bowl, mix vegetable oil, buttermilk, eggs, red food coloring, vanilla extract, and vinegar until well combined. Gradually add the dry ingredients to the wet, stirring until just combined.
Make the Cream Cheese Filling
In a separate bowl, beat the softened cream cheese with sugar and vanilla until smooth. Add the eggs, one at a time, mixing until just combined. Be careful not to overmix.
Layer and Bake
Pour half of the red velvet batter into a greased heart-shaped pan, then dollop the cream cheese filling over the batter. Swirl gently with a knife, then pour the remaining red velvet batter on top. Bake for about 60 minutes, or until a toothpick comes out clean.
Cool and Serve
Let the cheesecake heart cool in the pan for 20 minutes, then carefully transfer it to a wire rack. Chill in the refrigerator for at least 4 hours, preferably overnight, before serving. Cut into slices, and enjoy!
Enjoy each bite of this delightful cheesecake heart!
Pro Tips
- For the best color and flavor, use gel-based food coloring instead of liquid. Additionally, let the cake cool completely before chilling to enhance the texture.
Make-Ahead Instructions
This Red Velvet Cheesecake Heart can be prepared in advance, making it an excellent choice for busy occasions. You can bake the cake a day ahead; just be sure to cool it completely before refrigerating. Wrapping it tightly in plastic wrap will help retain moisture and keep it fresh for up to three days in the fridge.
If you want to enjoy this dessert for an extended period, freezing is also an option. Allow the cake to cool fully before wrapping and storing it in an airtight container. It can be frozen for up to two months. Thaw in the refrigerator overnight before serving for the best texture.
Troubleshooting Common Issues
If your cheesecake layer cracks after baking, this can often be attributed to overmixing or baking at too high a temperature. Next time, mix the cream cheese filling just until incorporated and keep a close eye on the oven temperature to maintain a gentle bake. Additionally, a water bath during baking can help regulate the temperature, promoting even cooking.
In the case of a dry cake, check that you’re accurately measuring your flour. Spoon the flour into your measuring cup instead of scooping, as this can compact the flour and lead to using too much. Adding a small amount of moisture in the form of an additional tablespoon of buttermilk can also help if you find your cake lacks the desired tenderness.
Questions About Recipes
→ Can I make this without food coloring?
Yes, you can omit the food coloring for a traditional cheesecake look, but it will lose the signature red velvet appearance.
→ How should I store leftovers?
Store any leftovers in an airtight container in the refrigerator for up to 5 days.
→ Can I freeze this cheesecake?
Yes, this cheesecake can be frozen for up to 2 months. Wrap it well in plastic wrap and aluminum foil before freezing.
→ What can I serve with this dessert?
This cheesecake pairs wonderfully with fresh berries, a drizzle of chocolate sauce, or whipped cream.
Red Velvet Cheesecake Heart Recipe
Created by: The Dishesbyolivia Team
Recipe Type: Sweet Treat Creations
Skill Level: Intermediate
Final Quantity: 12 servings
What You'll Need
For the Red Velvet Cake Layer
- 2 cups all-purpose flour
- 1 ½ cups granulated sugar
- 1 tsp baking soda
- 1 tsp salt
- 1 tsp cocoa powder
- 1 ½ cups vegetable oil
- 1 cup buttermilk
- 2 large eggs
- 2 tbsp red food coloring
- 1 tsp vanilla extract
- 1 tsp white vinegar
For the Cream Cheese Layer
- 16 oz cream cheese, softened
- ¾ cup granulated sugar
- 1 tsp vanilla extract
- 2 large eggs
How-To Steps
Preheat your oven to 350°F (175°C). In a bowl, whisk together flour, sugar, baking soda, salt, and cocoa powder. In another bowl, mix vegetable oil, buttermilk, eggs, red food coloring, vanilla extract, and vinegar until well combined. Gradually add the dry ingredients to the wet, stirring until just combined.
In a separate bowl, beat the softened cream cheese with sugar and vanilla until smooth. Add the eggs, one at a time, mixing until just combined. Be careful not to overmix.
Pour half of the red velvet batter into a greased heart-shaped pan, then dollop the cream cheese filling over the batter. Swirl gently with a knife, then pour the remaining red velvet batter on top. Bake for about 60 minutes, or until a toothpick comes out clean.
Let the cheesecake heart cool in the pan for 20 minutes, then carefully transfer it to a wire rack. Chill in the refrigerator for at least 4 hours, preferably overnight, before serving. Cut into slices, and enjoy!
Extra Tips
- For the best color and flavor, use gel-based food coloring instead of liquid. Additionally, let the cake cool completely before chilling to enhance the texture.
Nutritional Breakdown (Per Serving)
- Calories: 380 kcal
- Total Fat: 26g
- Saturated Fat: 15g
- Cholesterol: 195mg
- Sodium: 85mg
- Total Carbohydrates: 32g
- Dietary Fiber: 3g
- Sugars: 24g
- Protein: 6g